In this scenario, your important work may get hampered or fail to complete the task, and this is just because you don't have the required data.
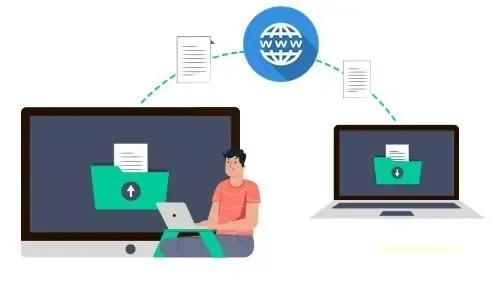
Here we will show you an easy and secure way to share your files over the internet which you can access from anywhere.
We do know that technology is developing rapidly and there are lots of ways to share your files and data with each other. Other than this you can also opt for cloud storage but to note there are some restrictions on data size. Some popular cloud storage does offer free space but with limitations as Google Drive offers 15GB per account and One Drive gives 5GB of space.
To easily share your files over the internet, we will use the NGROK application. If you are not familiar with NGROK, then here is a brief description of it.
Daniel Miessler nicely defines NGROK, its features, and its uses-
Ngrok is an application that gives you external (internet) access to your private systems that are hidden behind NAT or a firewall. It’s basically a super slick, encrypted TCP tunnel that provides an internet-accessible address that anyone can get to, and then links the other side of that tunnel to functionality running locally.
Steps to Access local Data or Files over the Internet
- Visit the NGROK website and signup for a free new account. (You can skip signup if you already have an account).
- Login to your NGROK account
- Downloads NGROK client (if Windows just click on "Download for Windows")
- Open NGROK client.
- Now scroll down and look for your auth token to connect your account.
- Copy your auth token code, paste it on the NGROK terminal, and hit Enter.
- After pressing enter, you will get the following message Authtoken saved to configuration file: C:\Users\NAME\AppData\Local/ngrok/ngrok.yml
- Now type the following command on the NGROK terminal
ngrok config add-authtoken 2DiDYHi7UiHBjOEz8HA7Eg9BcVy_4JhCmNJ5nsC6qLnby6K1E
ngrok http "file:///PATH OF YOUR FILE/FOLDER"
This command will make your data or particular file/folder accessible online by proving the tunnel URLs to your local drive files. As you click ENTER, NGROK will give you a web URL (tunnel URL ) to access your file through a web browser like https://ecc9███████████████████-9def.in.ngrok.io -> file:///E:%5Cck
Anyone who can guess your tunnel URL can access your local web server unless you protect it with a password.
Add security Authentication on NGROK URL
With the command on Step 4, you find that anyone can easily access your shared files/folder if the tunnel URL provided by NGROK know by another person. For the security of your file/folder, there must be an authentication while accessing the tunnel URL.
You can add authentication on your NGROK URL tunnel to prevent unauthorized access to your files or data with the --basic-auth flag. This enforces HTTP Basic Auth on all requests with the username and password you specify as an argument.
You can make your tunnels secure with the --basic-auth flag. You can include multiple --basic-auth flags to allow multiple users.
We recommend to use the following command in place of Step 4.
ngrok http "file:///PATH OF YOUR FILE/FOLDER" --basic-auth="username:password" 8080
Here in "username:password" you can add anything you like in Username and your own Password.
So with the above tutorial, now you can share and access your files or data from anywhere in a secure way. Hope you like this tutorial, also check the video guide for the same for a better understanding.
Video Guide
Bonus Tips for NGROK URL
As you see that the tunnel ULR provided by the NGROK is long and in alpha-numeric hash type format which is quite difficult to remember. So to resolve this you can use any URL shorteners to make your tunnel URL short and rememberable.